If you’re looking to take a step back in time and experience the warm, classic sound of vinyl records, you may find yourself wondering how to use a record player. Have no fear! Even for beginners, using a record player is a simple and rewarding experience. We’ll guide you through the essentials of playing a record, from placing the needle on the groove to changing songs, and explain why vinyls have remained popular for so long. So grab your favorite record and let’s dive in!
Introduction
If you’re new to vinyl, using a record player may seem daunting. But once you get the hang of it, playing your favorite records can be a rewarding and immersive experience. Here’s our step-by-step guide on how to use a record player.
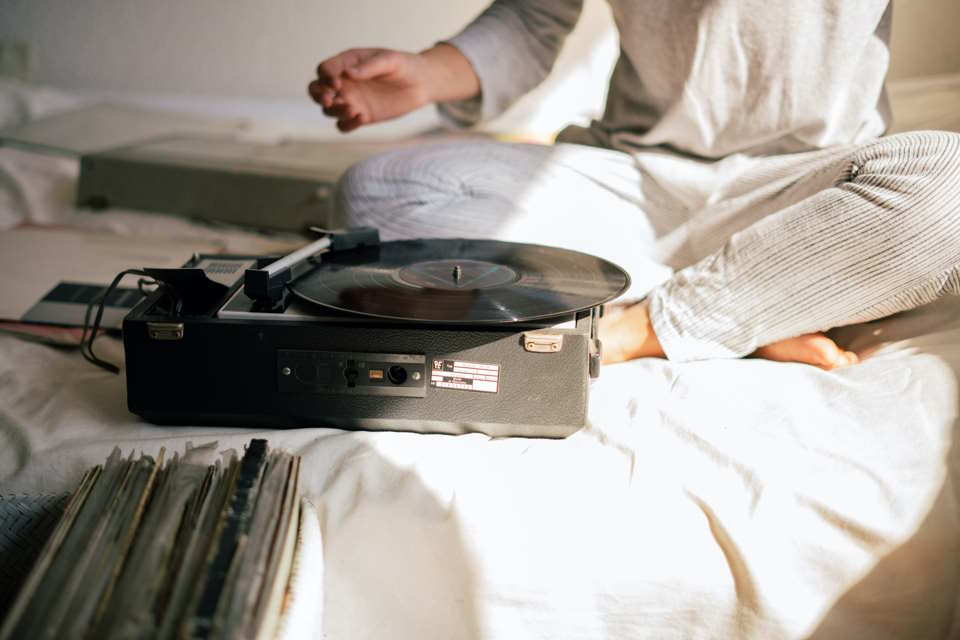
- Set up your record player: Before you start, ensure your record player is properly set up, with the turntable on a stable surface and the cables connected to speakers or an amplifier. Make sure the belt (if applicable) is attached and the turntable is rotating at the correct speed.
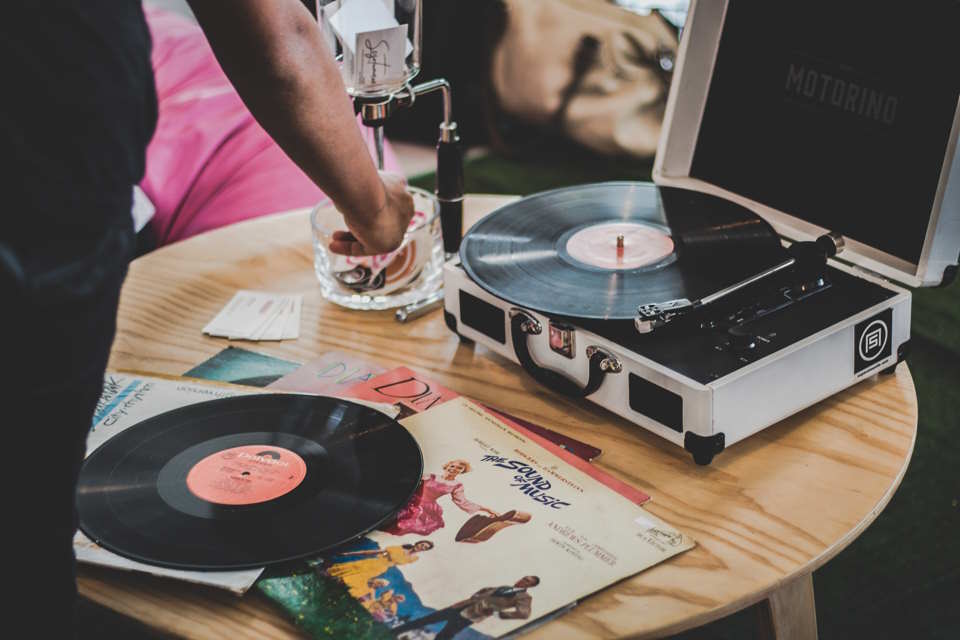
- Select your record: Choose the album or single you want to play and remove it from the sleeve. Be careful not to touch the grooves with your fingers, as this can leave oils and dirt that can affect the sound quality.
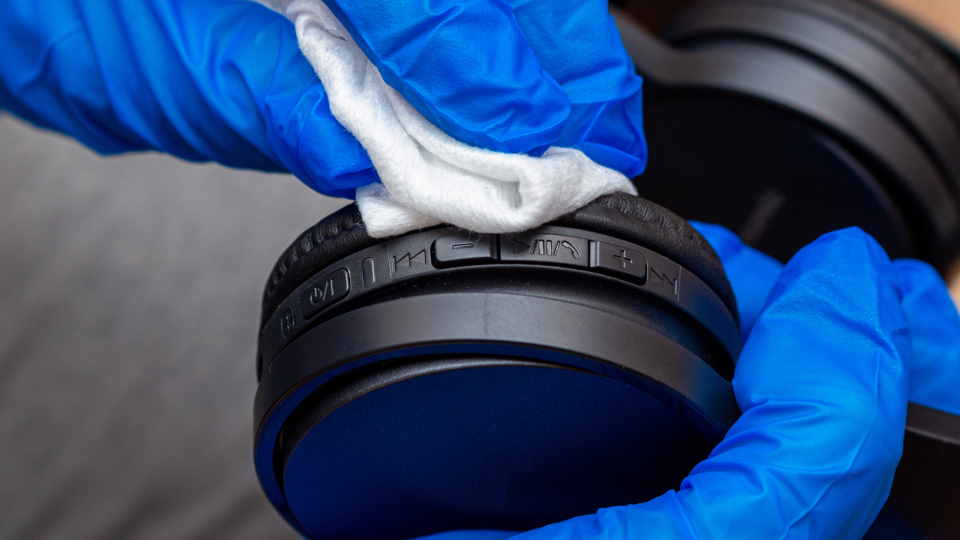
- Clean the record: Use a record cleaning brush or cloth to remove any dust or debris from the record. This will ensure a clear sound, free from any pops or cracks caused by dirt in the grooves.
- Place the record on the turntable: Carefully place the record onto the turntable, making sure it is lined up with the spindle in the center. If your record player has a clamp or weight, use it to secure the record in place.
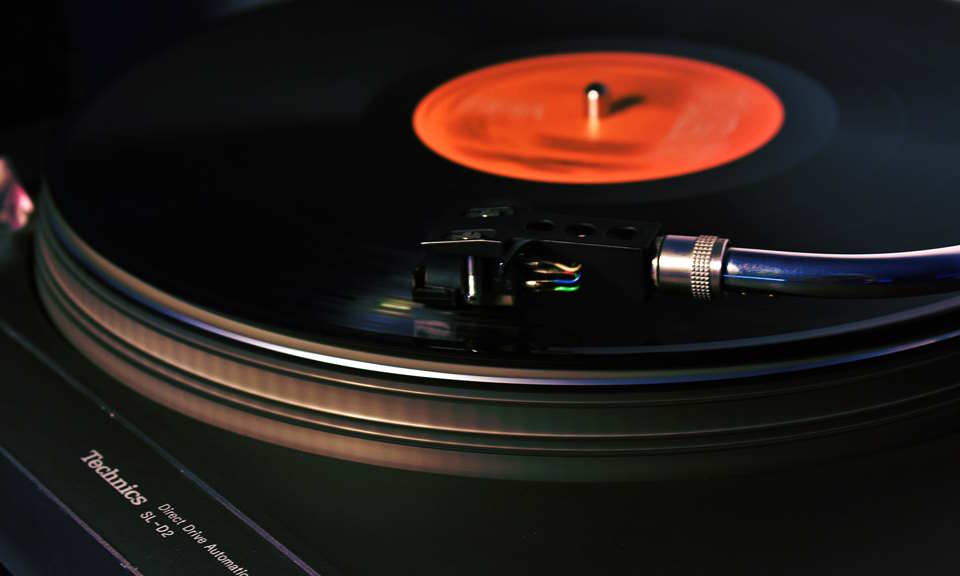
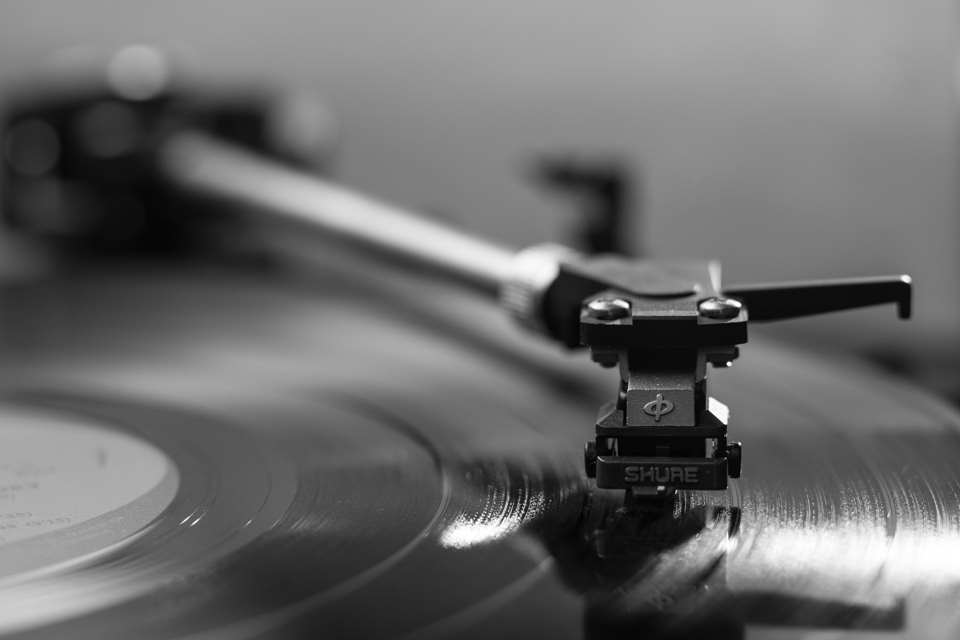
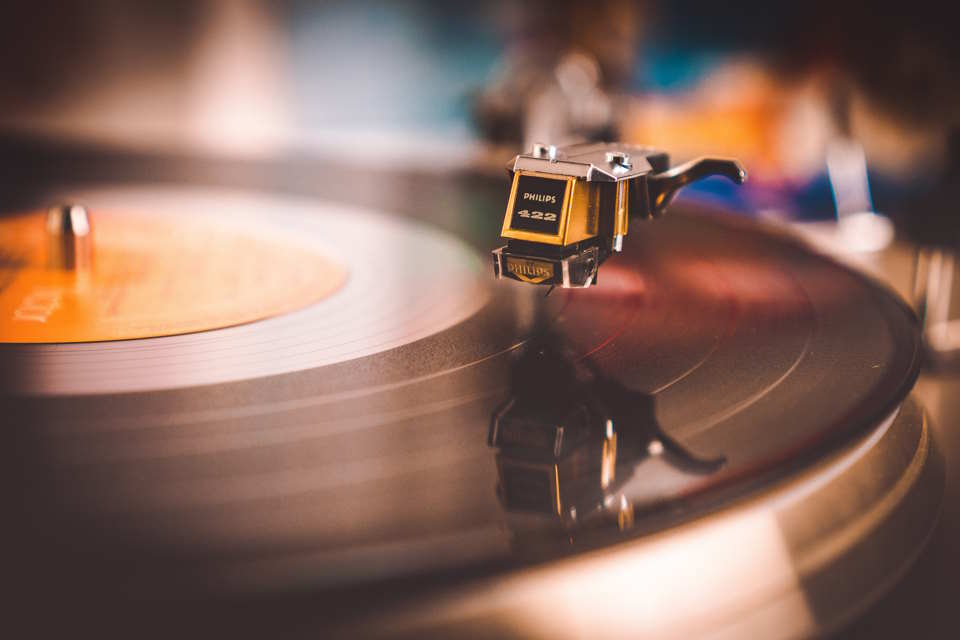
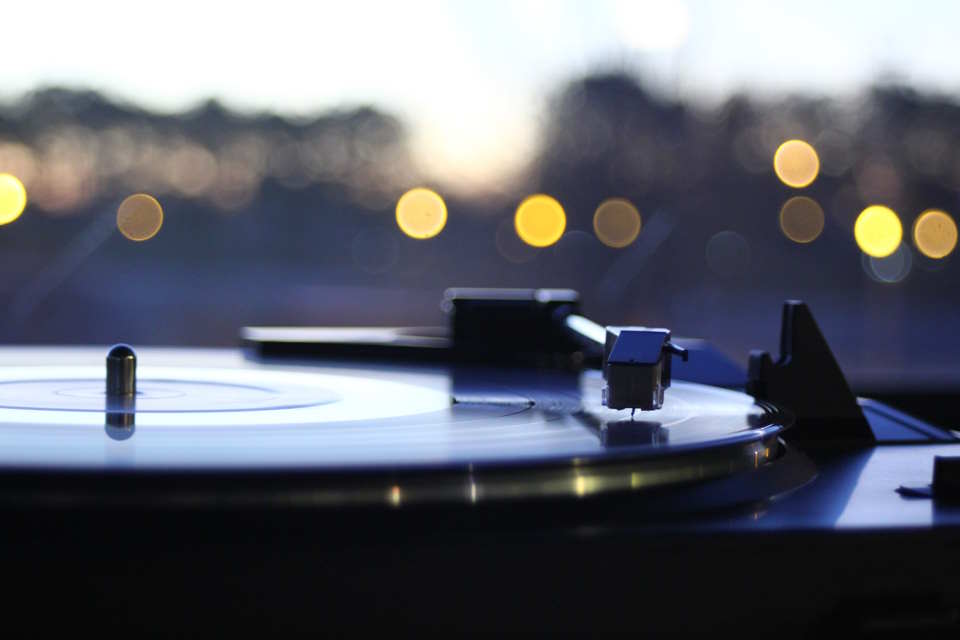
- Adjust the tonearm and needle: Gently lift the tonearm and move it over the record, positioning the needle (also known as the stylus) at the beginning of the first track. The tonearm should be level and parallel to the surface of the record.
- Lower the tonearm: Once the needle is in place, slowly lower the tonearm onto the record. Be careful not to drop it or drag it across the surface, as this can damage both the needle and the record.
- Enjoy your music: Sit back and enjoy the sound of your record! To change tracks, lift the tonearm and move it to the beginning of the next track, repeating steps 5 and 6. When you’re finished listening, lift the tonearm and return it to its resting position.
Using a record player may take a bit of practice, but with these simple steps, you can enjoy the warm, nostalgic sound of vinyl in no time.
How Do You Use a Record Player for Beginners?
Records may seem like an outdated technology, but for audiophiles, nothing beats the warm sound of vinyl playing on a record player. However, for those who have never used one before, operating a record player can seem daunting. We’ll go over how to use a record player for beginners.
Step 1: Set up your record player
The first step in using a record player is setting it up properly. This includes placing it on a stable surface, plugging it in, and ensuring that the turntable is level. Make sure to read the user manual carefully to avoid any potential mishaps.
Step 2: Place your record on the turntable
Carefully remove your record from its sleeve and place it on the turntable, making sure that it is centered properly. Most record players have a spindle in the middle to help guide the record into the correct position.
- Tip: Handle your records with care to avoid scratching or damaging them. Use the edges of the record to handle it, and be sure to keep your hands clean and dry.
Step 3: Set the needle in place
Also known as the stylus, the needle is the small, pointed object that rests on the grooves of the record, producing sound. Carefully lower the needle onto the record, making sure that it is positioned correctly.
- Tip: Make sure your speakers are turned off before you lower the needle to avoid any loud popping sounds.
- Tip: Always use a new or properly cleaned stylus to ensure the best sound quality and to avoid damaging your records.
Step 4: Adjust the volume and enjoy the music
Once the needle is in place, turn on your speakers and adjust the volume to your desired level. Sit back and enjoy the warm sound of your vinyl records.
| Common Record Player Issues | Solutions |
|---|---|
| The record skips or jumps | Check the surface that the player is on – it should be level and stable. You may need to adjust the anti-skate control and the tracking force of the needle. |
| The sound quality is poor | Make sure that the stylus is clean and properly aligned. Check that the cartridge and connections are clean and secure. Your speakers may also be the issue, so make sure they are in good condition. |
| The turntable isn’t rotating properly | Make sure the turntable is level and that the belt is in good condition. You may need to replace the belt or look for any other mechanical issues. |
With these basic steps, you should be able to use a record player easily, even if it’s your first time. As you become more familiar with your record player, you can experiment with different types of records and styluses to find the perfect combination for your preferred sound quality.
Where Do You Put the Needle on a Record?
When it comes to listening to music on a record player, the most important thing you need to know is how to correctly set the needle on the record. This may seem like a no-brainer, but many beginners struggle with this step. We’ll go over the basics of where to put the needle on a record and some tips for getting the best sound possible.
The first thing you need to do is make sure your record player is turned on and spinning. Once it’s spinning, the next step is to carefully lift the tonearm and move it above the record. You want to make sure the needle (also called a stylus) is directly above the groove where you want to start listening.
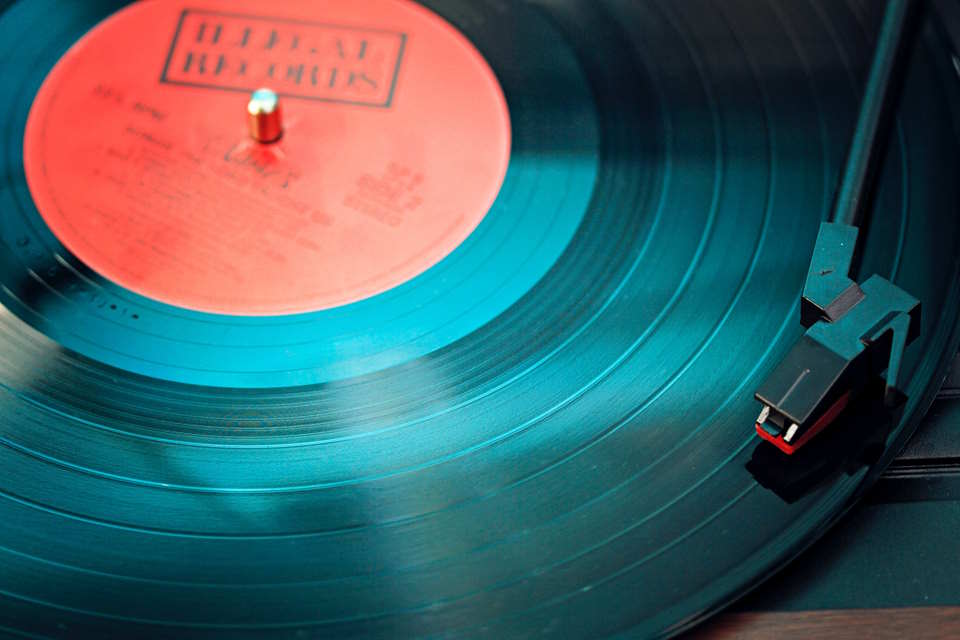
One helpful tip is to look for the lead-in groove, which is typically a blank area on the record before the first song starts. This will give you time to adjust the volume and make sure everything is set up correctly before the music starts playing.
- Turn on the record player and wait for it to start spinning
- Lift the tonearm and carefully move it above the record
- Locate the lead-in groove, which is typically a blank area before the first song
- Lower the needle onto the groove and enjoy the music!
If you’re not sure where to place the needle, it’s better to err on the side of caution and start closer to the center of the record rather than the outer edge. The needle should be perpendicular to the record at all times to ensure the best sound quality.
With these tips in mind, you’ll be able to confidently set the needle on your record player and enjoy your favorite music. Remember to always handle your records with care and keep your needle clean for the best sound possible.
How Do I Change the Song on My Record Player?

If you are new to using a record player, it can seem a bit daunting at first. One of the things that many beginners struggle with is figuring out how to change the song on their record player. Fortunately, the process is relatively simple once you get the hang of it.
The first thing you need to do is gently lift the tonearm and move it to the side so that it is out of the way of the record. Next, you will want to locate the groove that corresponds to the song you want to play. This can sometimes take a bit of trial and error, especially if you are not familiar with the album.
- Make sure you have the album cover nearby to help you identify the tracks on the record.
- You can also use a magnifying glass to help you see the track numbers more clearly.
- Some record players also have a cueing lever or button that you can use to lower the stylus onto the record at a specific point.
Once you have found the correct groove, you can slowly lower the tonearm back onto the record. Make sure to do this gently to avoid scratching the record. The stylus should automatically lower onto the groove and start playing the song.
| Record Player Troubleshooting Tips |
|---|
| Make sure you have the correct speed selected on your record player. Most albums are designed to be played at either 33⅓ RPM or 45 RPM. |
| If the record is skipping or jumping, try cleaning the stylus with a soft brush or replace it altogether if it’s damaged. |
| Remember to always handle your records with care. Touching the grooves or using the wrong cleaning methods can cause irreparable damage to the vinyl surface. |
Changing the song on a record player may take some practice, but with a little patience and attention to detail, you’ll have it down in no time. Soon you’ll be enjoying your favorite albums the way they were meant to be heard – on a classic vinyl record player!
Do Records Play Without Speakers?
Yes, records can play without the use of speakers. In fact, the first phonographs, invented by Thomas Edison in the late 1800s, were originally designed to be used for listening through ear tubes rather than speakers. This is because speakers were not yet widely available, and the technology to amplify sound electronically had not yet been developed.
Today, there are still methods for playing records without speakers. For example, some turntables have a built-in preamp and a USB port, so you can connect them to your computer and listen to your records through your headphones. Some turntables also have a headphone jack built into them, allowing you to listen to your records directly through your headphones.
- One way to listen to records without speakers is through ear tubes, which were originally used with the first phonographs invented by Thomas Edison in the late 1800s
- Turntables with built-in preamps and USB ports can also be used to listen to records through headphones via connection to a computer
- Some turntables have built-in headphone jacks
How Do Records Play Voices?
If you’ve ever listened to a vinyl record, you might wonder how it produces sound. Unlike digital music, where the sound is stored as ones and zeroes, records are analog, which means that the music is stored in grooves on the record’s surface. The stylus, which is attached to the tonearm of the record player, follows these grooves and vibrates as it moves, converting the motion into an electrical signal that can be amplified and played through speakers.
But how do records play voices? The answer lies in how the grooves on the record are cut. When an artist records their music in a studio, the sound is divided into different frequencies and amplitudes. These variations are translated into physical movement by a cutting lathe, which cuts a physical representation of the sound waves into the surface of the record. The grooves on the record mimic these sound waves, with the amplitude and frequency corresponding to the depth and distance of the groove.
- When the stylus is placed on the record and begins to travel along the groove,
- it moves up and down with the amplitude of the sound wave and side to side with the frequency.
The stylus then sends these tiny vibrations through the tonearm and into the cartridge, which converts the mechanical motion into an electrical signal. This electrical signal is then sent to the amplifier, which boosts the signal and sends it to the speakers, where it is converted back into sound.
| Advantages of Records | Disadvantages of Records |
|---|---|
| Higher sound quality than digital music | More susceptible to scratches and damage |
| Physical copies with intricate artwork and liner notes | Require special equipment for playback |
| Tactile experience of handling and playing records | Limited storage capacity compared to digital music |
Why Do Records Sound So Good?
When it comes to music, there’s just something special about the sound quality of vinyl records that can’t be replicated by digital formats. Many audiophiles will argue that records simply sound better than any other medium, but what is it about records that make them so great? We will explore the reasons why records sound so good.
- Analog Sound: Records produce sound using an analog format, meaning the sound waves are captured and translated directly onto the vinyl through grooves that are cut into the disc. This results in a rich, warm sound that digital formats like CDs and MP3s can’t quite replicate. The sound quality is often described as having a more “natural” feel, as if the musician is right in the room with you.
- No Compression: When music is recorded, it goes through a process called compression that limits the dynamic range of the sound to make it easier to listen to on different types of speakers. While this is necessary for digital formats, records don’t require compression because the grooves on the vinyl can hold a wider range of sound. This means records can capture the full dynamic range of the sound, resulting in a more authentic listening experience.
- Records have a higher fidelity, or level of detail, than digital formats. The grooves on a record can capture details that are lost in digital compression, such as subtle nuances in instrument playing or the vocal quality of a singer. This results in a more immersive listening experience as you can pick up on every little detail in the music.
Overall, there are many reasons why records sound so good. The analog sound, lack of compression, and higher fidelity all work together to create a listening experience that can’t be replicated by digital formats. While records may require more upkeep and aren’t as convenient as streaming or digital downloads, there’s just something special about putting on a record and hearing the music as it was meant to be heard.